Docker Build Failure in OpenShift
I recently built a new Docker container for building and serving Sphinx document. I wrote the Dockerfile and tested on my work machine, but when I pushed to OpenShift, but the builds never worked so well.
....
Step 3/11 : RUN yum install -y java
 ---> Running in 12d15dc87f10

Fedora Modular 29 - x86_64                      881 kB/s | 1.5 MB     00:01
Cannot rename directory "/var/cache/dnf/fedora-modular-ce4dd907f26812da/tmpdir.CUa2wc/repodata" to "/var/cache/dnf/fedora-modular-ce4dd907f26812da/repodata": Directory not empty
Error: Cannot rename directory "/var/cache/dnf/fedora-modular-ce4dd907f26812da/tmpdir.CUa2wc/repodata" to "/var/cache/dnf/fedora-modular-ce4dd907f26812da/repodata": Directory not empty
Removing intermediate container 12d15dc87f10
error: build error: The command '/bin/sh -c dnf install -y java' returned a non-zero code: 1
....
I checked the project and find some other images build failed with the same Directory not empty error.
What's Wrong with OverlayFS Storage Driver
My OpenShift instance is running on CentOS 7 with Docker runtime and OverlayFS. I checked my work machine with Docker builds ran well on, and it's also running CentOS 7.5. It doesn't look like a problem with the operating system.
Since the storage driver for docker is overlay2 , I checked Use the OverlayFS storage driver in Docker documents and found a clue.
Warning: Running on XFS without d_type support now causes Docker to skip the attempt to use theoverlayoroverlay2driver. Existing installs will continue to run, but produce an error. This is to allow users to migrate their data. In a future version, this will be a fatal error, which will prevent Docker from starting.
Then I quickly check my work machine.
$ xfs_info /dev/vda1
meta-data=/dev/vda1              isize=512    agcount=101, agsize=524224 blks
         =                       sectsz=512   attr=2, projid32bit=1
         =                       crc=1        finobt=0 spinodes=0
data     =                       bsize=4096   blocks=52428539, imaxpct=25
         =                       sunit=0      swidth=0 blks
naming   =version 2              bsize=4096   ascii-ci=0 ftype=1
log      =internal               bsize=4096   blocks=2560, version=2
         =                       sectsz=512   sunit=0 blks, lazy-count=1
realtime =none                   extsz=4096   blocks=0, rtextents=0
# sudo docker info
....
Storage Driver: overlay2
Backing Filesystem: xfs
Supports d_type: true
Native Overlay Diff: true
....
Kernel Version: 3.10.0-957.5.1.el7.x86_64
Operating System: CentOS Linux 7 (Core)
....On OpenShift nodes, most of the parameters are the same except ftype=0 and Supports d_type: false. So that would be the problem.
Fix the Problem by Recreating Filesystem
Boot into an Live System
To take care of the filesystem, we need to keep it offline during the process. In my case, since the partition is my system root, I will use a live system to recreate it. I downloaded a CentOS NetInst ISO and boot from it.
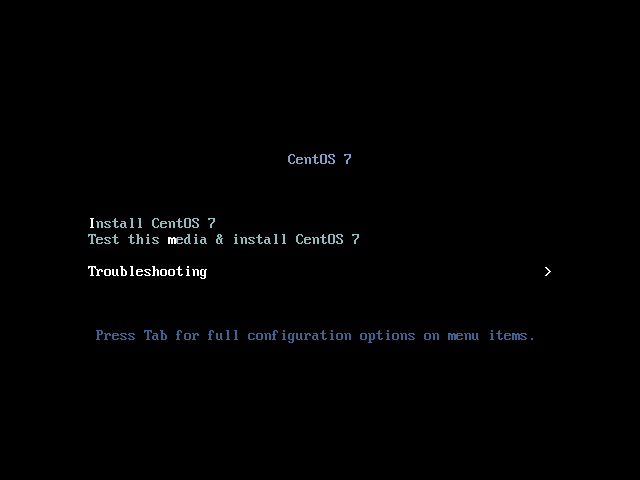
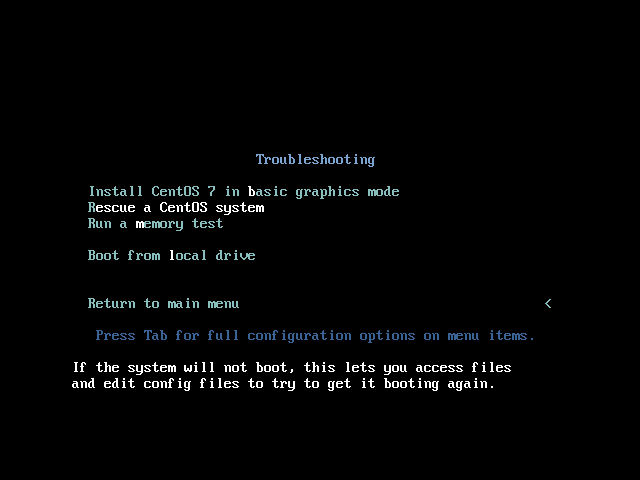
When the ISOLINUX menu shows up, choose Troubleshooting > Rescue a CentOS System.


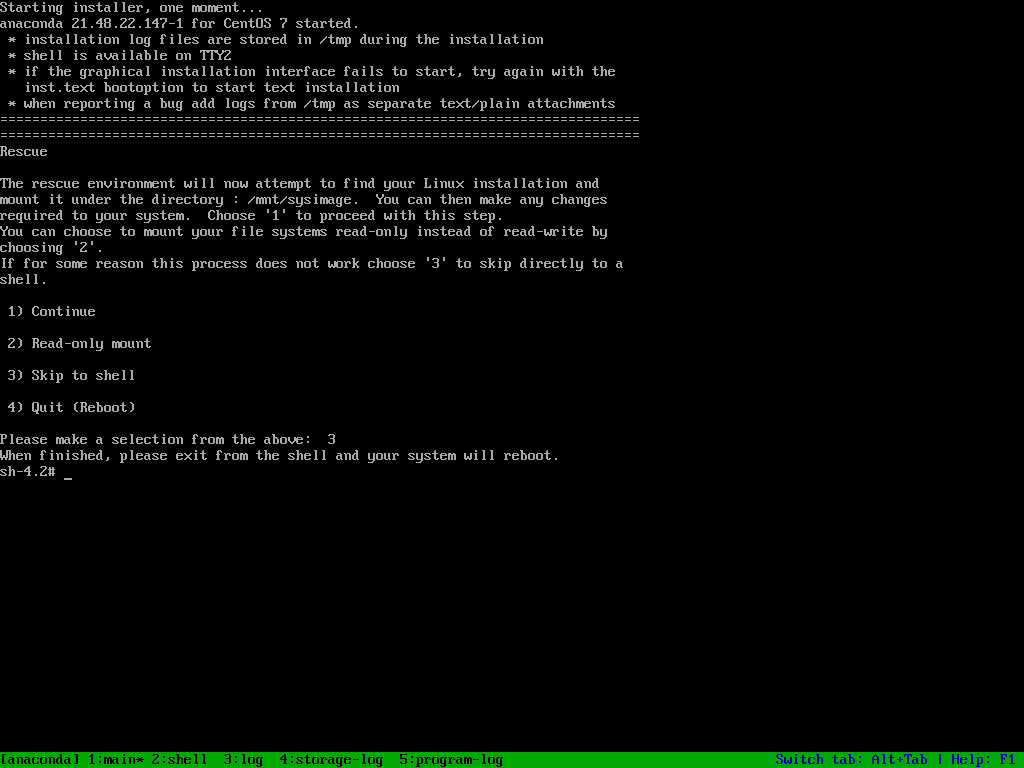
Then when asked for rescue action, we will select 3 and skip to shell directly for live system.

sh in live systemScan for LVM Volumes
My CentOS setup doesn't contains LVM. However, if LVM is configured, we have to deal with it. First of all scan for LVM volumes. Then change into the appropriate VG and scan for the LVs.
# vgscan
# vgchange -ay $VG_NAME
# lvscan
Dump Filesystem Content
I'd like to save the dump to remote SSH host, so I would like to set-up my network first.
# dhclient eno1Since xfsdump can only handle mounted filesystem, create a mount point for the filesystem and mount it.
# mkdir /mnt/xfs
# mount -t xfs /dev/sda5 /mnt/xfs
Finally we can take the advance of pipe and dump the filesystem to remote host.
# xfsdump -J - /mnt/xfs | ssh <host> 'cat >/srv/backup/xfs.dump'Recreate XFS Filesystem
Umount the filesystem and format the block device with -n ftype=1. But in order not to mess up the CentOS booting process, I would like to maintain the UUID as the same. So I will record the UUID for /dev/sda5 first and reformat it with -m uuid= option.
# blkid /dev/sda5
/dev/sda5: UUID="6070306e-9ca0-453b-b44c-cada2e67ac57" TYPE="xfs"
# umount /mnt/xfs
# mkfs.xfs -f -n ftype=1 -m uuid=6070306e-9ca0-453b-b44c-cada2e67ac57 /dev/sda5By assign the same UUID to the filesystem, GRUB will be able to find the same root filesystem using find-by-uuid method which is used in default CentOS installation.
Restore Content
Then mount the filesystem again and restore the content from the dump.
mount -t xfs /dev/sda5 /mnt/xfs
ssh <host> 'cat /srv/backup/xfs.dump' | xfsrestore -J - /mnt/xfs
Exit the shell and rescue environment will reboot automatically. Now everything should be the same but with ftype=1 in xfs_info ouput.
But Why Since They are Both CentOS?
In RHEL 7.6 documents, there are some notes about using XFS for overlay.
Note that XFS file systems must be created with the-n ftype=1option enabled for use as an overlay. With the rootfs and any file systems created during system installation, set the--mkfsoptions=-n ftype=1parameters in the Anaconda kickstart. When creating a new file system after the installation, run the# mkfs -t xfs -n ftype=1 /PATH/TO/DEVICEcommand. To determine whether an existing file system is eligible for use as an overlay, run the# xfs_info /PATH/TO/DEVICE | grep ftypecommand to see if theftype=1option is enabled.
As the downstream of RHEL, CentOS also has this feature disabled before CentOS 7.5. Unfortunately, my workbox is running a new CentOS 7.5 installation, but OpenShift nodes are all upgraded from CentOS 7.2, on which version ftype is not a default options when creating XFS.
References
- Docker is unable to delete a file when building images
- Cent OS 7 の docker を overlay 対応させる方法
- Recreating an XFS file system with `ftype=1`
- containers/buildah #861 - buildah fails on CentOS7 with xfs
- Chapter 21. File Systems - Red Hat Customer Portal
- XFS ftype=0 prevents upgrading to a version of OpenStack Director with containers